Round steel link chain making for 30+ years

SHANGHAI CHIGONG INDUSTRIAL CO., LTD

(round steel link chain manufacturer)

Slag Scraper Conveyor Chain (Round Link Chain) Materials and Hardness

For round link chains used in slag scraper conveyors, the steel materials must possess exceptional strength, wear resistance, and the ability to withstand high temperatures and abrasive environments.

Both 17CrNiMo6 and 23MnNiMoCr54 are high-quality alloy steels commonly used for heavy-duty applications like round link chains in slag scraper conveyors. These steels are known for their excellent hardness, toughness, and wear resistance, especially when subjected to case hardening by carburizing. Below is a detailed guide on heat treatment and carburizing for these materials:

17CrNiMo6 (1.6587)

This is a chromium-nickel-molybdenum alloy steel with excellent core toughness and surface hardness after carburizing. It is widely used in gears, chains, and other components requiring high wear resistance.

Heat Treatment for 17CrNiMo6

1. Normalizing (Optional):

   - Purpose: Refines the grain structure and improves machinability.

   - Temperature: 880–920°C.

   - Cooling: Air cooling.

2. Carburizing:

   - Purpose: Increases surface carbon content to create a hard, wear-resistant layer.

   - Temperature: 880–930°C.

   - Atmosphere: Carbon-rich environment (e.g., gas carburizing with endothermic gas or liquid carburizing).

   - Time: Depends on the desired case depth (typically 0.5–2.0 mm). For example:

     - 0.5 mm case depth: ~4–6 hours.

     - 1.0 mm case depth: ~8–10 hours.

   - Carbon Potential: 0.8–1.0% (to achieve a high surface carbon content).

3. Quenching:

   - Purpose: Transforms the high-carbon surface layer into hard martensite.

   - Temperature: Directly after carburizing, quench in oil (e.g., at 60–80°C).

   - Cooling Rate: Controlled to avoid distortion.

4. Tempering:

   - Purpose: Reduces brittleness and improves toughness.

   - Temperature: 150–200°C (for high hardness) or 400–450°C (for better toughness).

   - Time: 1–2 hours.

5. Final Hardness:

   - Surface Hardness: 58–62 HRC.

   - Core Hardness: 30–40 HRC.

23MnNiMoCr54 (1.7131)

This is a manganese-nickel-molybdenum-chromium alloy steel with excellent hardenability and toughness. It is often used in components requiring high strength and wear resistance.

Heat Treatment for 23MnNiMoCr54

1. Normalizing (Optional):

   - Purpose: Improves uniformity and machinability.

   - Temperature: 870–910°C.

   - Cooling: Air cooling. 

2. Carburizing:

   - Purpose: Creates a high-carbon surface layer for wear resistance.

   - Temperature: 880–930°C.

   - Atmosphere: Carbon-rich environment (e.g., gas or liquid carburizing).

   - Time: Depends on the desired case depth (similar to 17CrNiMo6).

   - Carbon Potential: 0.8–1.0%. 

3. Quenching:

   - Purpose: Hardens the surface layer.

   - Temperature: Quench in oil (e.g., at 60–80°C).

   - Cooling Rate: Controlled to minimize distortion. 

4. Tempering:

   - Purpose: Balances hardness and toughness.

   - Temperature: 150–200°C (for high hardness) or 400–450°C (for better toughness).

   - Time: 1–2 hours. 

5. Final Hardness:

   - Surface Hardness: 58–62 HRC.

   - Core Hardness: 30–40 HRC.

Key Parameters for Carburizing

- Case Depth: Typically 0.5–2.0 mm, depending on the application. For slag scraper chains, a case depth of 1.0–1.5 mm is often suitable.

- Surface Carbon Content: 0.8–1.0% to ensure high hardness.

- Quenching Medium: Oil is preferred for these steels to avoid cracking and distortion.

- Tempering: Lower tempering temperatures (150–200°C) are used for maximum hardness, while higher temperatures (400–450°C) improve toughness.

Benefits of Carburizing for 17CrNiMo6 and 23MnNiMoCr54

1. High Surface Hardness: Achieves 58–62 HRC, providing excellent wear resistance.

2. Tough Core: Maintains a ductile core (30–40 HRC) to withstand impact and fatigue.

3. Durability: Ideal for harsh environments like slag handling, where abrasion and impact are common.

4. Controlled Case Depth: Allows customization based on the specific application.

Post-Treatment Considerations

1. Shot Peening:

   - Improves fatigue strength by inducing compressive stresses on the surface.

2. Surface Finishing:

   - Grinding or polishing can be done to achieve the desired surface finish and dimensional accuracy.

3. Quality Control:

   - Perform hardness testing (e.g., Rockwell C) and microstructural analysis to ensure proper case depth and hardness.

Hardness testing is a critical step in ensuring the quality and performance of round link chains made from materials like 17CrNiMo6 and 23MnNiMoCr54, especially after carburizing and heat treatment. Below is a comprehensive guide and recommendations for round link chain hardness testing:

Importance of Hardness Testing

1. Surface Hardness: Ensures the chain link carburized layer has achieved the desired wear resistance.

2. Core Hardness: Verifies the toughness and ductility of the chain link core material.

3. Quality Control: Confirms the heat treatment process was performed correctly.

4. Consistency: Ensures uniformity across the chain links.

Round Link Chain Hardness Testing Methods

For carburized chains, the following hardness testing methods are commonly used:

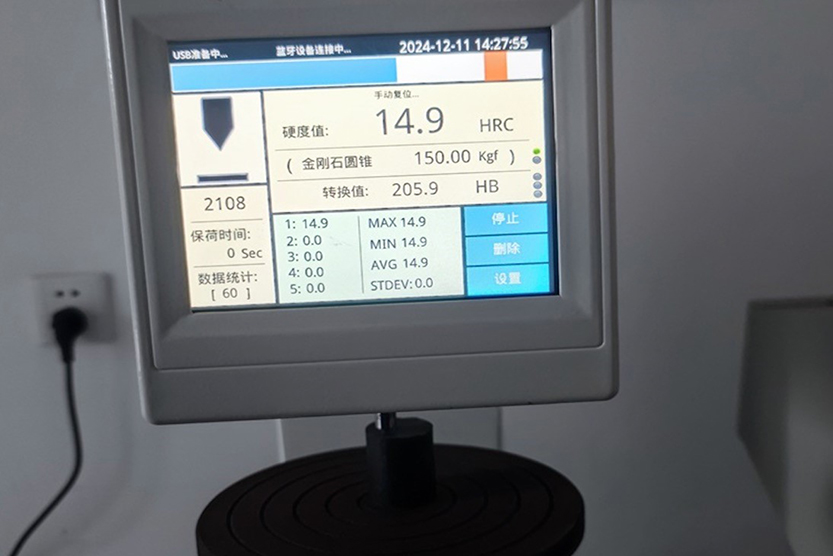
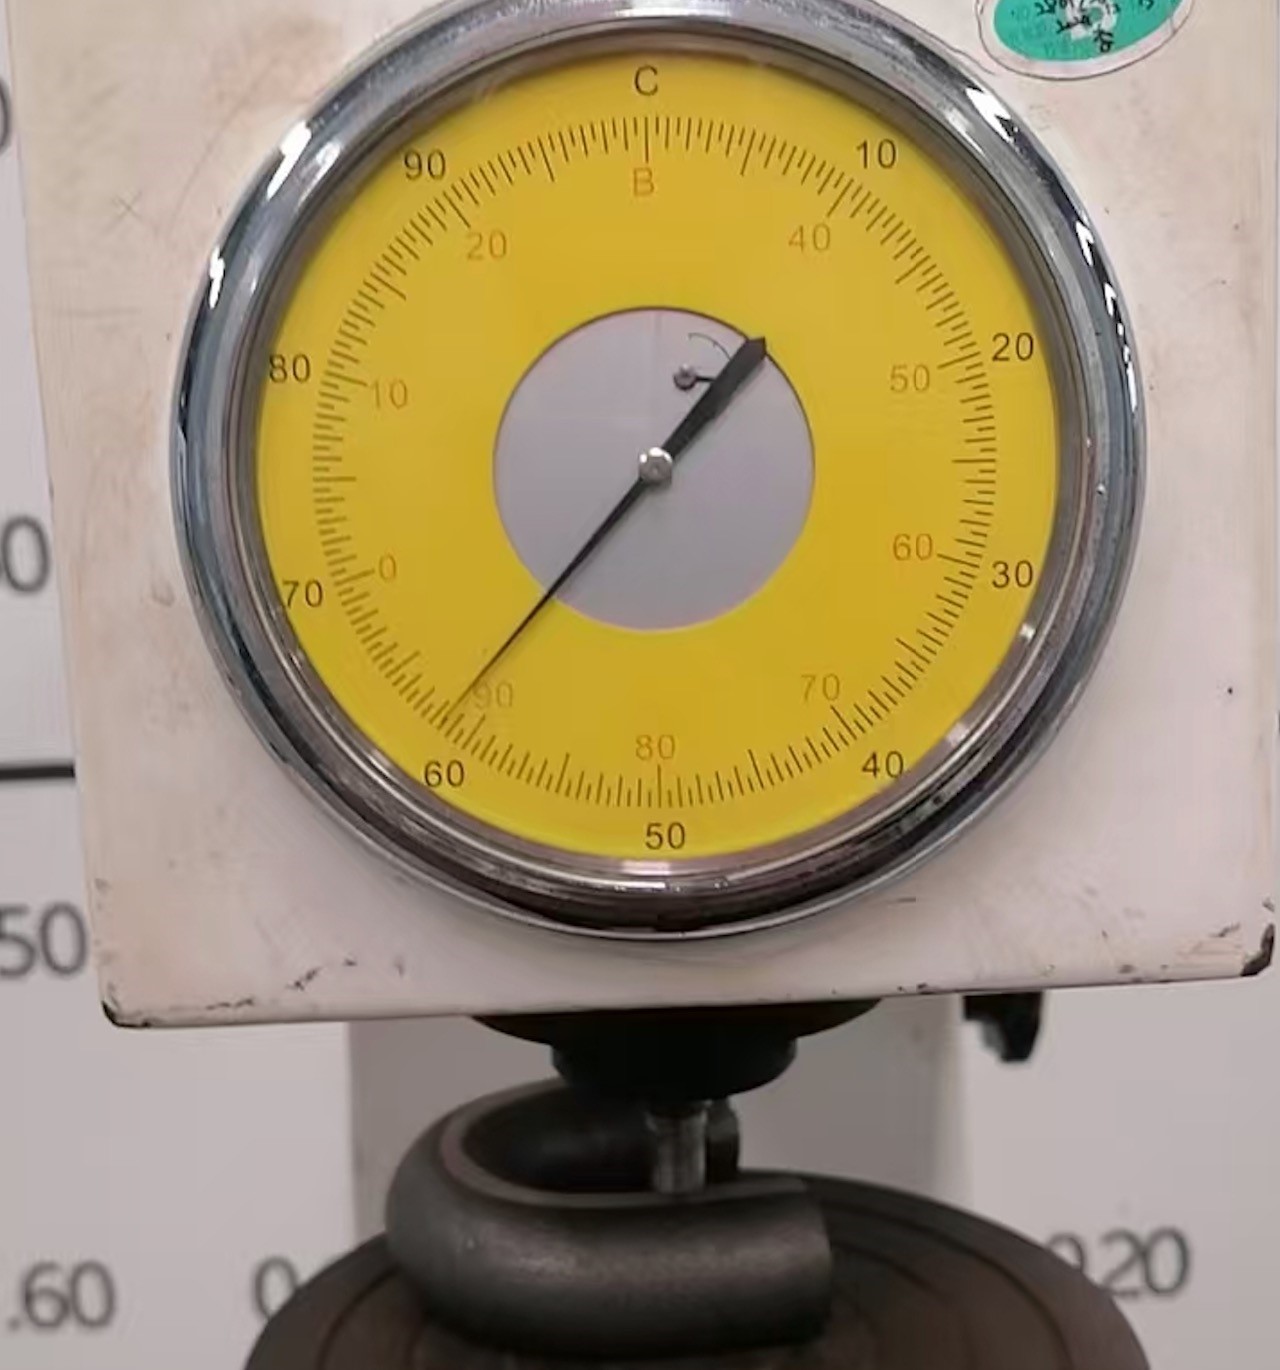
1. Rockwell Hardness Test (HRC)

   - Purpose: Measures surface hardness of the carburized layer.

   - Scale: Rockwell C (HRC) is used for high-hardness materials.

   - Procedure:

   - A diamond cone indenter is pressed into the chain link surface under a major load.

   - The depth of penetration is measured and converted to a hardness value.

   - Applications:

   - Ideal for measuring surface hardness (58–62 HRC for carburized layers).

   - Equipment: Rockwell hardness tester. 

2. Vickers Hardness Test (HV)

   - Purpose: Measures hardness at specific points, including the case and core.

   - Scale: Vickers hardness (HV).

   - Procedure:

   - A diamond pyramid indenter is pressed into the material.

   - The diagonal length of the indentation is measured and converted to hardness.

   - Applications:

   - Suitable for measuring hardness gradients from the surface to the core.

   - Equipment: Vickers hardness tester. 


ROUND LINK CHAIN HARDNESS

3. Microhardness Test

   - Purpose: Measures hardness at a microscopic level, often used to evaluate the hardness profile across the case and core.

   - Scale: Vickers (HV) or Knoop (HK).

   - Procedure:

   - A small indenter is used to make micro-indentations.

   - The hardness is calculated based on the indentation size.

   - Applications:

   - Used to determine the hardness gradient and effective case depth.

   - Equipment: Microhardness tester. 

4. Brinell Hardness Test (HBW)

   - Purpose: Measures hardness of the core material.

   - Scale: Brinell hardness (HBW).

   - Procedure:

   - A tungsten carbide ball is pressed into the material under a specific load.

   - The diameter of the indentation is measured and converted to hardness.

   - Applications:

   - Suitable for measuring core hardness (30–40 HRC equivalent).

   - Equipment: Brinell hardness tester.
Hardness Testing Procedure for Carburized Chains

1. Surface Hardness Testing:

   - Use the Rockwell C (HRC) scale to measure the hardness of the carburized layer.

   - Test multiple points on the surface of the chain links to ensure uniformity.

   - Expected hardness: 58–62 HRC. 

2. Core Hardness Testing:

   - Use the Rockwell C (HRC) or Brinell (HBW) scale to measure the hardness of the core material.

   - Test the core by cutting a cross-section of a chain link and measuring hardness at the center.

   - Expected hardness: 30–40 HRC. 

3. Hardness Profile Testing:

   - Use the Vickers (HV) or Microhardness test to evaluate the hardness gradient from the surface to the core.

   - Prepare a cross-section of the chain link and make indentations at regular intervals (e.g., every 0.1 mm).

   - Plot the hardness values to determine the effective case depth (typically where hardness drops to 550 HV or 52 HRC).

Recommended Hardness Values for Slag Scraper Conveyor Chain

- Surface Hardness: 58–62 HRC (after carburizing and quenching).

- Core Hardness: 30–40 HRC (after tempering).

- Effective Case Depth: The depth at which hardness drops to 550 HV or 52 HRC (typically 0.5–2.0 mm, depending on requirements).

Hardness Values for Slag Scraper Conveyor Chain
Round Link Chain HardnessTesting 01

Quality Control and Standards

1. Testing Frequency:

   - Perform hardness testing on a representative sample of chains from each batch.

   - Test multiple links to ensure consistency. 

2. Standards:

   - Follow international standards for hardness testing, such as: ISO 6508

Additional Recommendations for Round Link Chain Hardness Testing

1. Ultrasonic Hardness Testing

   - Purpose: Non-destructive method to measure surface hardness.

   - Procedure:

   - Uses an ultrasonic probe to measure the hardness based on the contact impedance.

   - Applications:

   - Useful for testing finished chains without damaging them.

   - Equipment: Ultrasonic hardness tester. 

2. Case Depth Measurement

   - Purpose: Determines the depth of the chain link hardened layer.

   - Methods:

   - Microhardness Testing: Measures hardness at different depths to identify the effective case depth (where hardness drops to 550 HV or 52 HRC).

   - Metallographic Analysis: Examines a cross-section under a microscope to visually assess the case depth.

   - Procedure:

   - Cut a cross-section of the chain link.

   - Polish and etch the sample to reveal the microstructure.

   - Measure the depth of the hardened layer.

Hardness Testing Workflow

Here’s a step-by-step workflow for hardness testing of carburized chains:

1. Sample Preparation:

   - Select a representative chain link from the batch.

   - Clean the surface to remove any contaminants or scale.

   - For core hardness and hardness profile testing, cut a cross-section of the link.

2. Surface Hardness Testing:

   - Use a Rockwell hardness tester (HRC scale) to measure the surface hardness.

   - Take multiple readings at different locations on the link to ensure uniformity. 

3. Core Hardness Testing:

   - Use a Rockwell hardness tester (HRC scale) or Brinell hardness tester (HBW scale) to measure the core hardness.

   - Test the center of the cross-sectioned link. 

4. Hardness Profile Testing:

   - Use a Vickers or microhardness tester to measure hardness at regular intervals from the surface to the core.

   - Plot the hardness values to determine the effective case depth. 

5. Documentation and Analysis:

   - Record all hardness values and case depth measurements.

   - Compare the results with the specified requirements (e.g., surface hardness of 58–62 HRC, core hardness of 30–40 HRC, and case depth of 0.5–2.0 mm).

   - Identify any deviations and take corrective actions if necessary.

Common Challenges and Solutions

1. Inconsistent Hardness:

   - Cause: Uneven carburizing or quenching.

   - Solution: Ensure uniform temperature and carbon potential during carburizing, and proper agitation during quenching.

2. Low Surface Hardness:

   - Cause: Insufficient carbon content or improper quenching.

   - Solution: Verify carbon potential during carburizing and ensure proper quenching parameters (e.g., oil temperature and cooling rate).

3. Excessive Case Depth:

   - Cause: Prolonged carburizing time or high carburizing temperature.

   - Solution: Optimize carburizing time and temperature based on the desired case depth. 

4. Distortion During Quenching:

   - Cause: Rapid or uneven cooling.

   - Solution: Use controlled quenching methods (e.g., oil quenching with agitation) and consider stress-relieving treatments.

Standards and References

- ISO 6508: Rockwell hardness test.

- ISO 6507: Vickers hardness test.

- ISO 6506: Brinell hardness test.

- ASTM E18: Standard test methods for Rockwell hardness.

- ASTM E384: Standard test method for microindentation hardness.

Final Recommendations

1. Regular Calibration:

   - Calibrate hardness testing equipment regularly using certified reference blocks to ensure accuracy. 

2. Training:

   - Ensure operators are trained in proper hardness testing techniques and equipment usage. 

3. Quality Control:

   - Implement a robust quality control process, including regular hardness testing and documentation. 

4. Collaboration with Suppliers:

   - Work closely with material suppliers and heat treatment facilities to ensure consistent quality.


Post time: Feb-04-2025

Leave Your Message:

Write your message here and send it to us